3 min to read
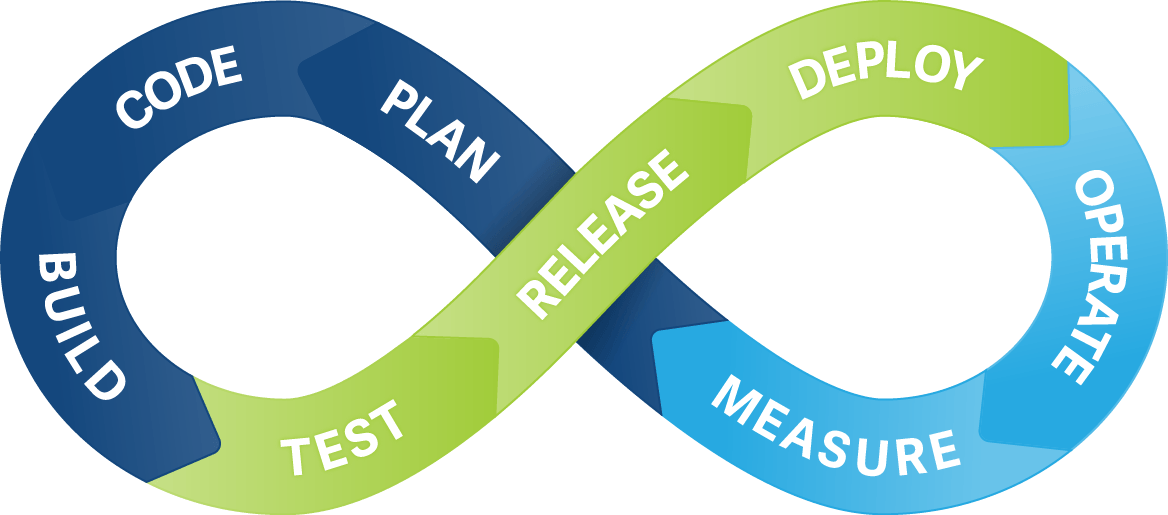
Automation with Jenkins and GitHub
Applying CI/CD in project with Jenkins and GitHub.
Why Automation?
Automation is one of the key aspects of DevOps and agile development.Internet, connectivity and software technologies have raised customer expectations for service performance, reliability and quality. And since every organization is a software organization, businesses are forced to respond faster than ever before when it comes to improving product features, fixing issues, delivering customer service or even to market competition and trends.
Organizations have responded by embracing modern Software Development Lifecycle (SDLC) strategies such as DevOps that streamline the organizational, process and tooling workflows to push quality software features to end-users faster and effectively. Fast response to customer requirements often comes with eliminating the process bottlenecks and replacing manual tasks with automation. The resulting agility and speed helps organizations align every step of the SDLC workflow with business goals in context of changing end-user and market requirements.
Let’s start
We need followings for this :-
Prototype :-
- Create container image that’s has Python3 and Keras or numpy installed using dockerfile.
- When we launch this image, it should automatically starts train the model in the container.
- Create a job chain of Job1, Job2, Job3, Job4 and Job5 using build pipeline plugin in Jenkins
- Job1 : Pull the Github repo automatically when some developers push repo to Github.
- Job2 : By looking at the code or program file, Jenkins should automatically start the respective machine learning software installed interpreter install image container to deploy code and start training( eg. If code uses CNN, then Jenkins should start the container that has already installed all the softwares required for the cnn processing).
- Job3 : Train your model and predict accuracy or metrics.
- Job4 : if metrics accuracy is less than 80% , then tweak the machine learning model architecture.
- Job5: Retrain the model or notify that the best model is being created.
- Job6 for monitor : If container where app is running. fails due to any reason then this job should automatically start the container again from where the last trained model left.
Step:1
Creating a Docker file

Command for Docker Image:-
docker build -t <imagename>:<tagname>
Step:2
Loading our project from Docker container for testing .
#docker exec -it <container build > bash
Step:3
Opening Project directory


Step:4


Step:5
Job2
Jenkins will automatically start the respective machine learning Libraries installed& interpreter would install image container to deploy code and start training.


Step:6
Job 3:-
Job3 is for traning the model and save the accuracy to accuracy.txt file. Im using mnistdigits model ,dataset will be downloaded automatically.
Job 3 will be get trigger automatically only after job2 is running successfully


Step:7
Job 4:-
Job 4 is to check the accuracy of the trained model ,if accuracy is greater is less than 90% then it will again go to job3 and trained the model until we get 90%.

Step:8
Job 5:-
Once the job4 is achieve the accuracy then it will trigger job5 which will send mail to the user.

Step:9
Job 6:-
This job will monitor the container, if the container exist then this job will trigger job2 and relaunch the container.

Step:10
Job 7:-
build Pip Line view

Pushing Image to Docker Hub :-
sudo docker push username/image name

to pull this image use command :-
docker push sivolko/mlops:tagname
Work with me
Got a security challenge, architecture review, or just want to talk through something? Book a free 30-min call.
Comments