5 min to read
How to create & Manage users and Groups within Azure AD.
Az Active Directory Objects

In this blog,let’s learn how to create and manage users & group their properties within Azure AD.
Disclaimer :- I’m not gonna cover Azure AD’s AU (Administrative Units)
Prerequisits :-
- Azure Account
- Global Administrator Privilege
- Basic Knowledge of Azure service
Q. Before start let’s understand What Azure AD offers? or What is Azure AD?
A.
- Directory and Identity management solution within the cloud
- Provides Traditional username & password Identity Managemet
- Role based permission management
- Multifactor authentication (Enterprise solution)
- Application monitoring solution and alerting
- Can be integrated with on-prem AD
If you are interested into Azure AD licencing and cost, kindly visit official doc :-
Create users in Azure AD via portal
steps:-
1) Visit Azure portal
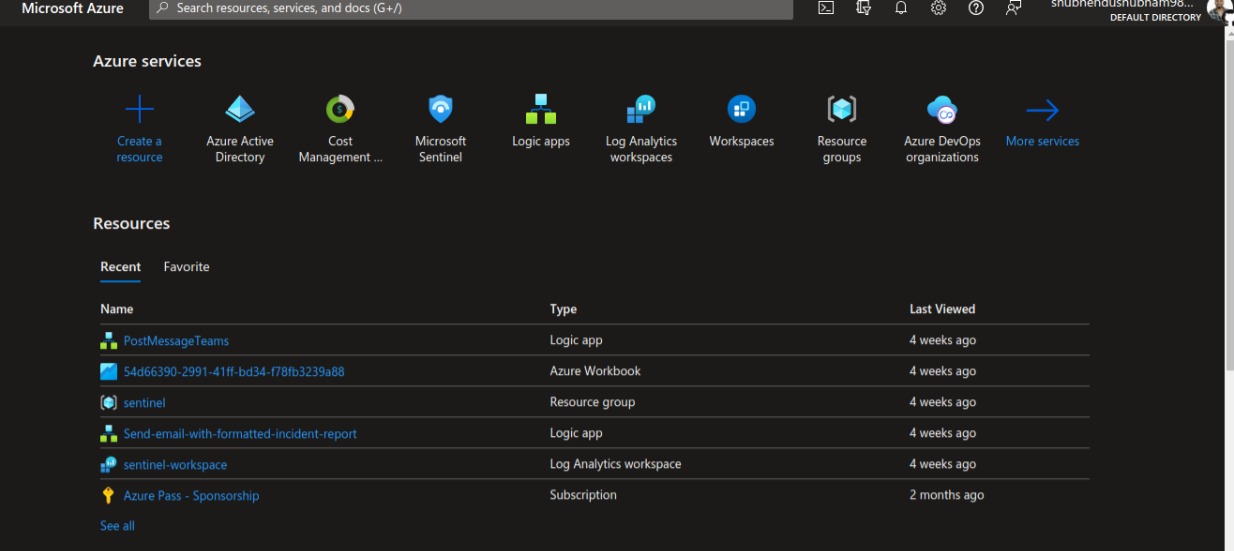
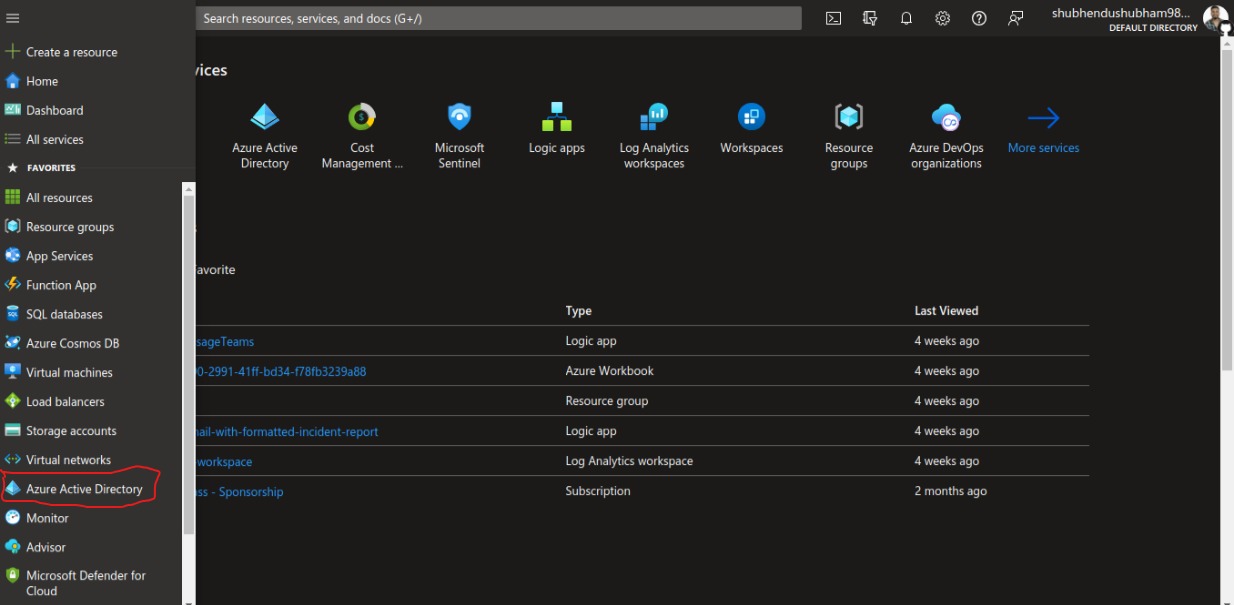
2) Select Azure Active Directory from left hand hamburger menu or directly search in search box
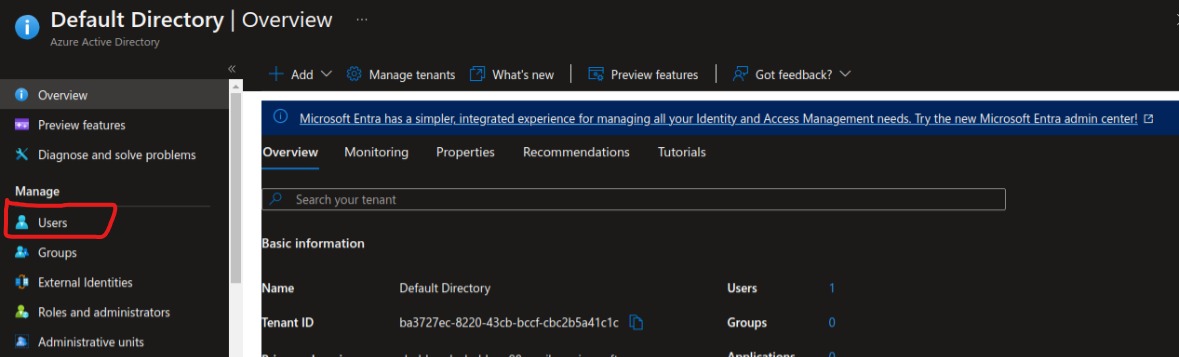
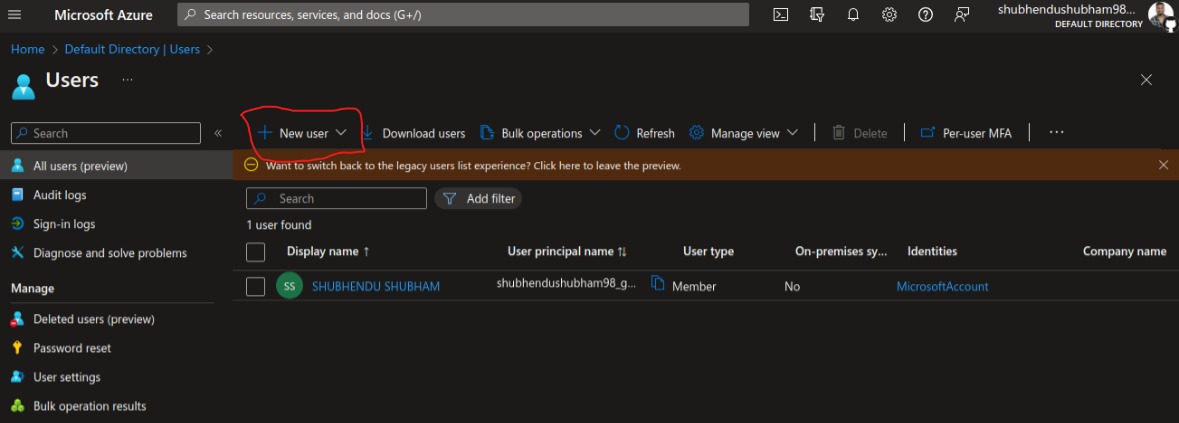
3) Click on users, then select all Users
4) Now We have to create a few demo users with different privileges,here I’m gonna create 3 users as
- user1
- user2
- user3
5) I am using my own custom domain hugs4bugs, but feel free to use deafult
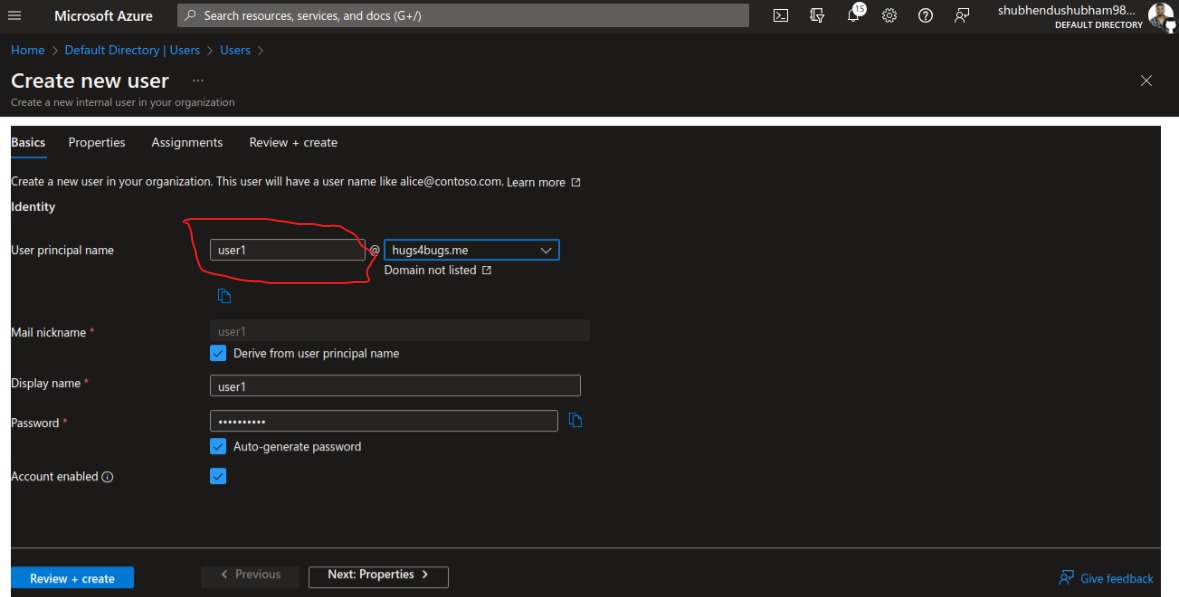
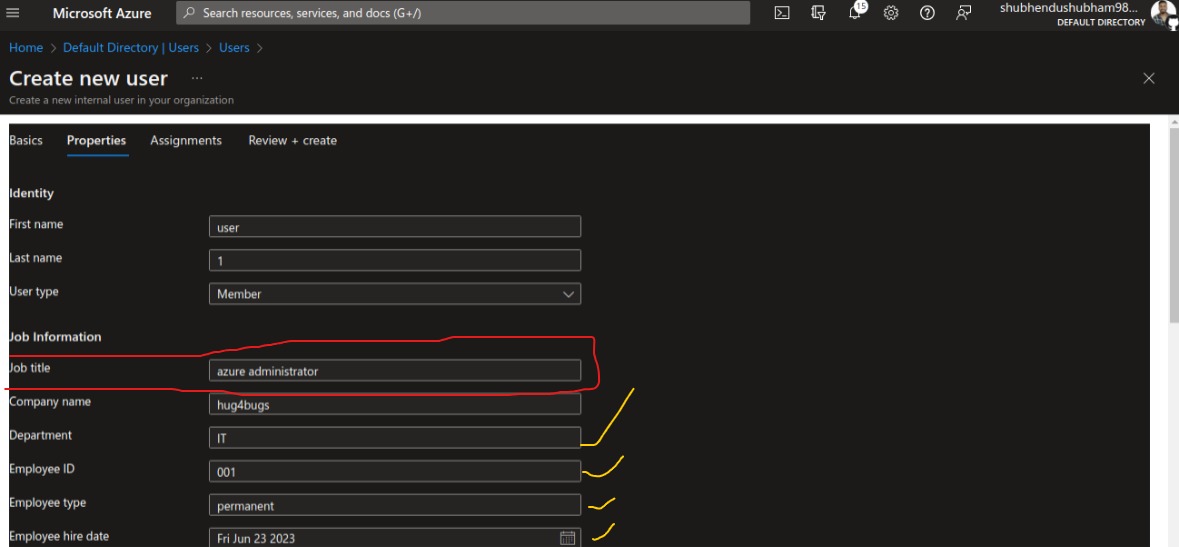
6) Fill the second tab info as per your choice and feel free to skips non mandatory things too. I have filled details as follow :-
 * First Name : user
 * Last Name : 1
 * user type: member
 * job title: az admin (here this user gonna have global admin privilege)
 * company : hugs4bugs (optional)
 * departement: IT (optional)
 * employee id: 001 (optional)
 * contact info : skipped
 * parental control : skipped
 * settings: usage location : India
Leave as default or blank Assignments tab
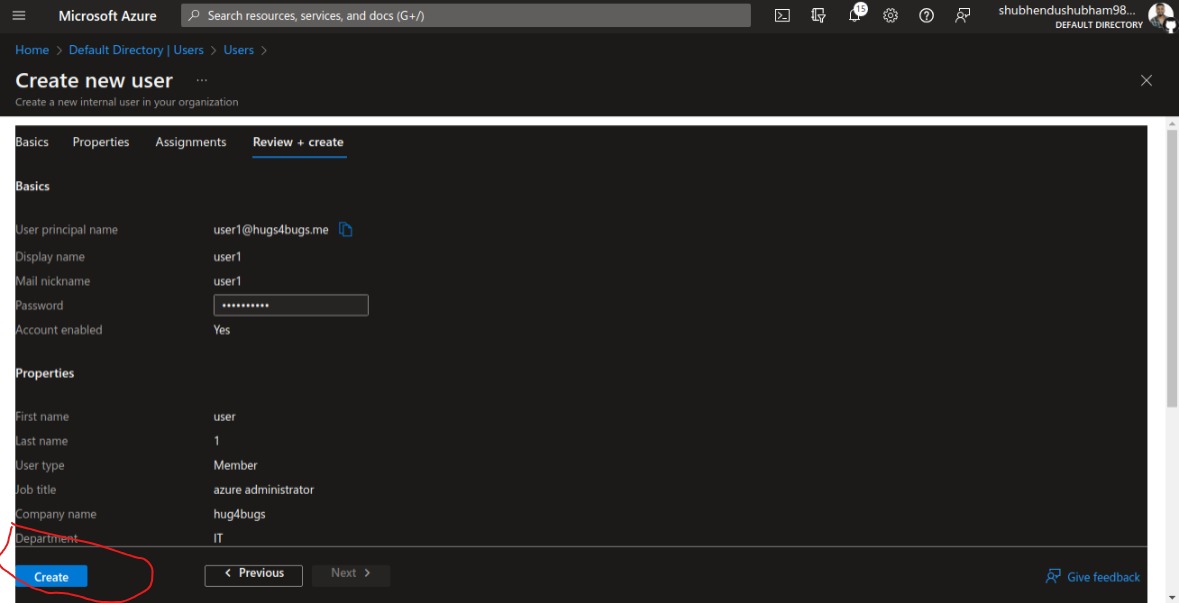
7) Click on Review and Create button and repeate same steps for user2 & user3
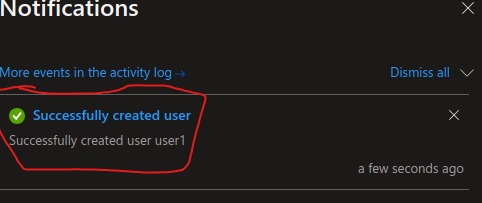
8) After successful user creation , notification will popup .
Groups : Azure AD
Before jumping to the Azure AD Groups, let’s understand the types of groups and their functionality.
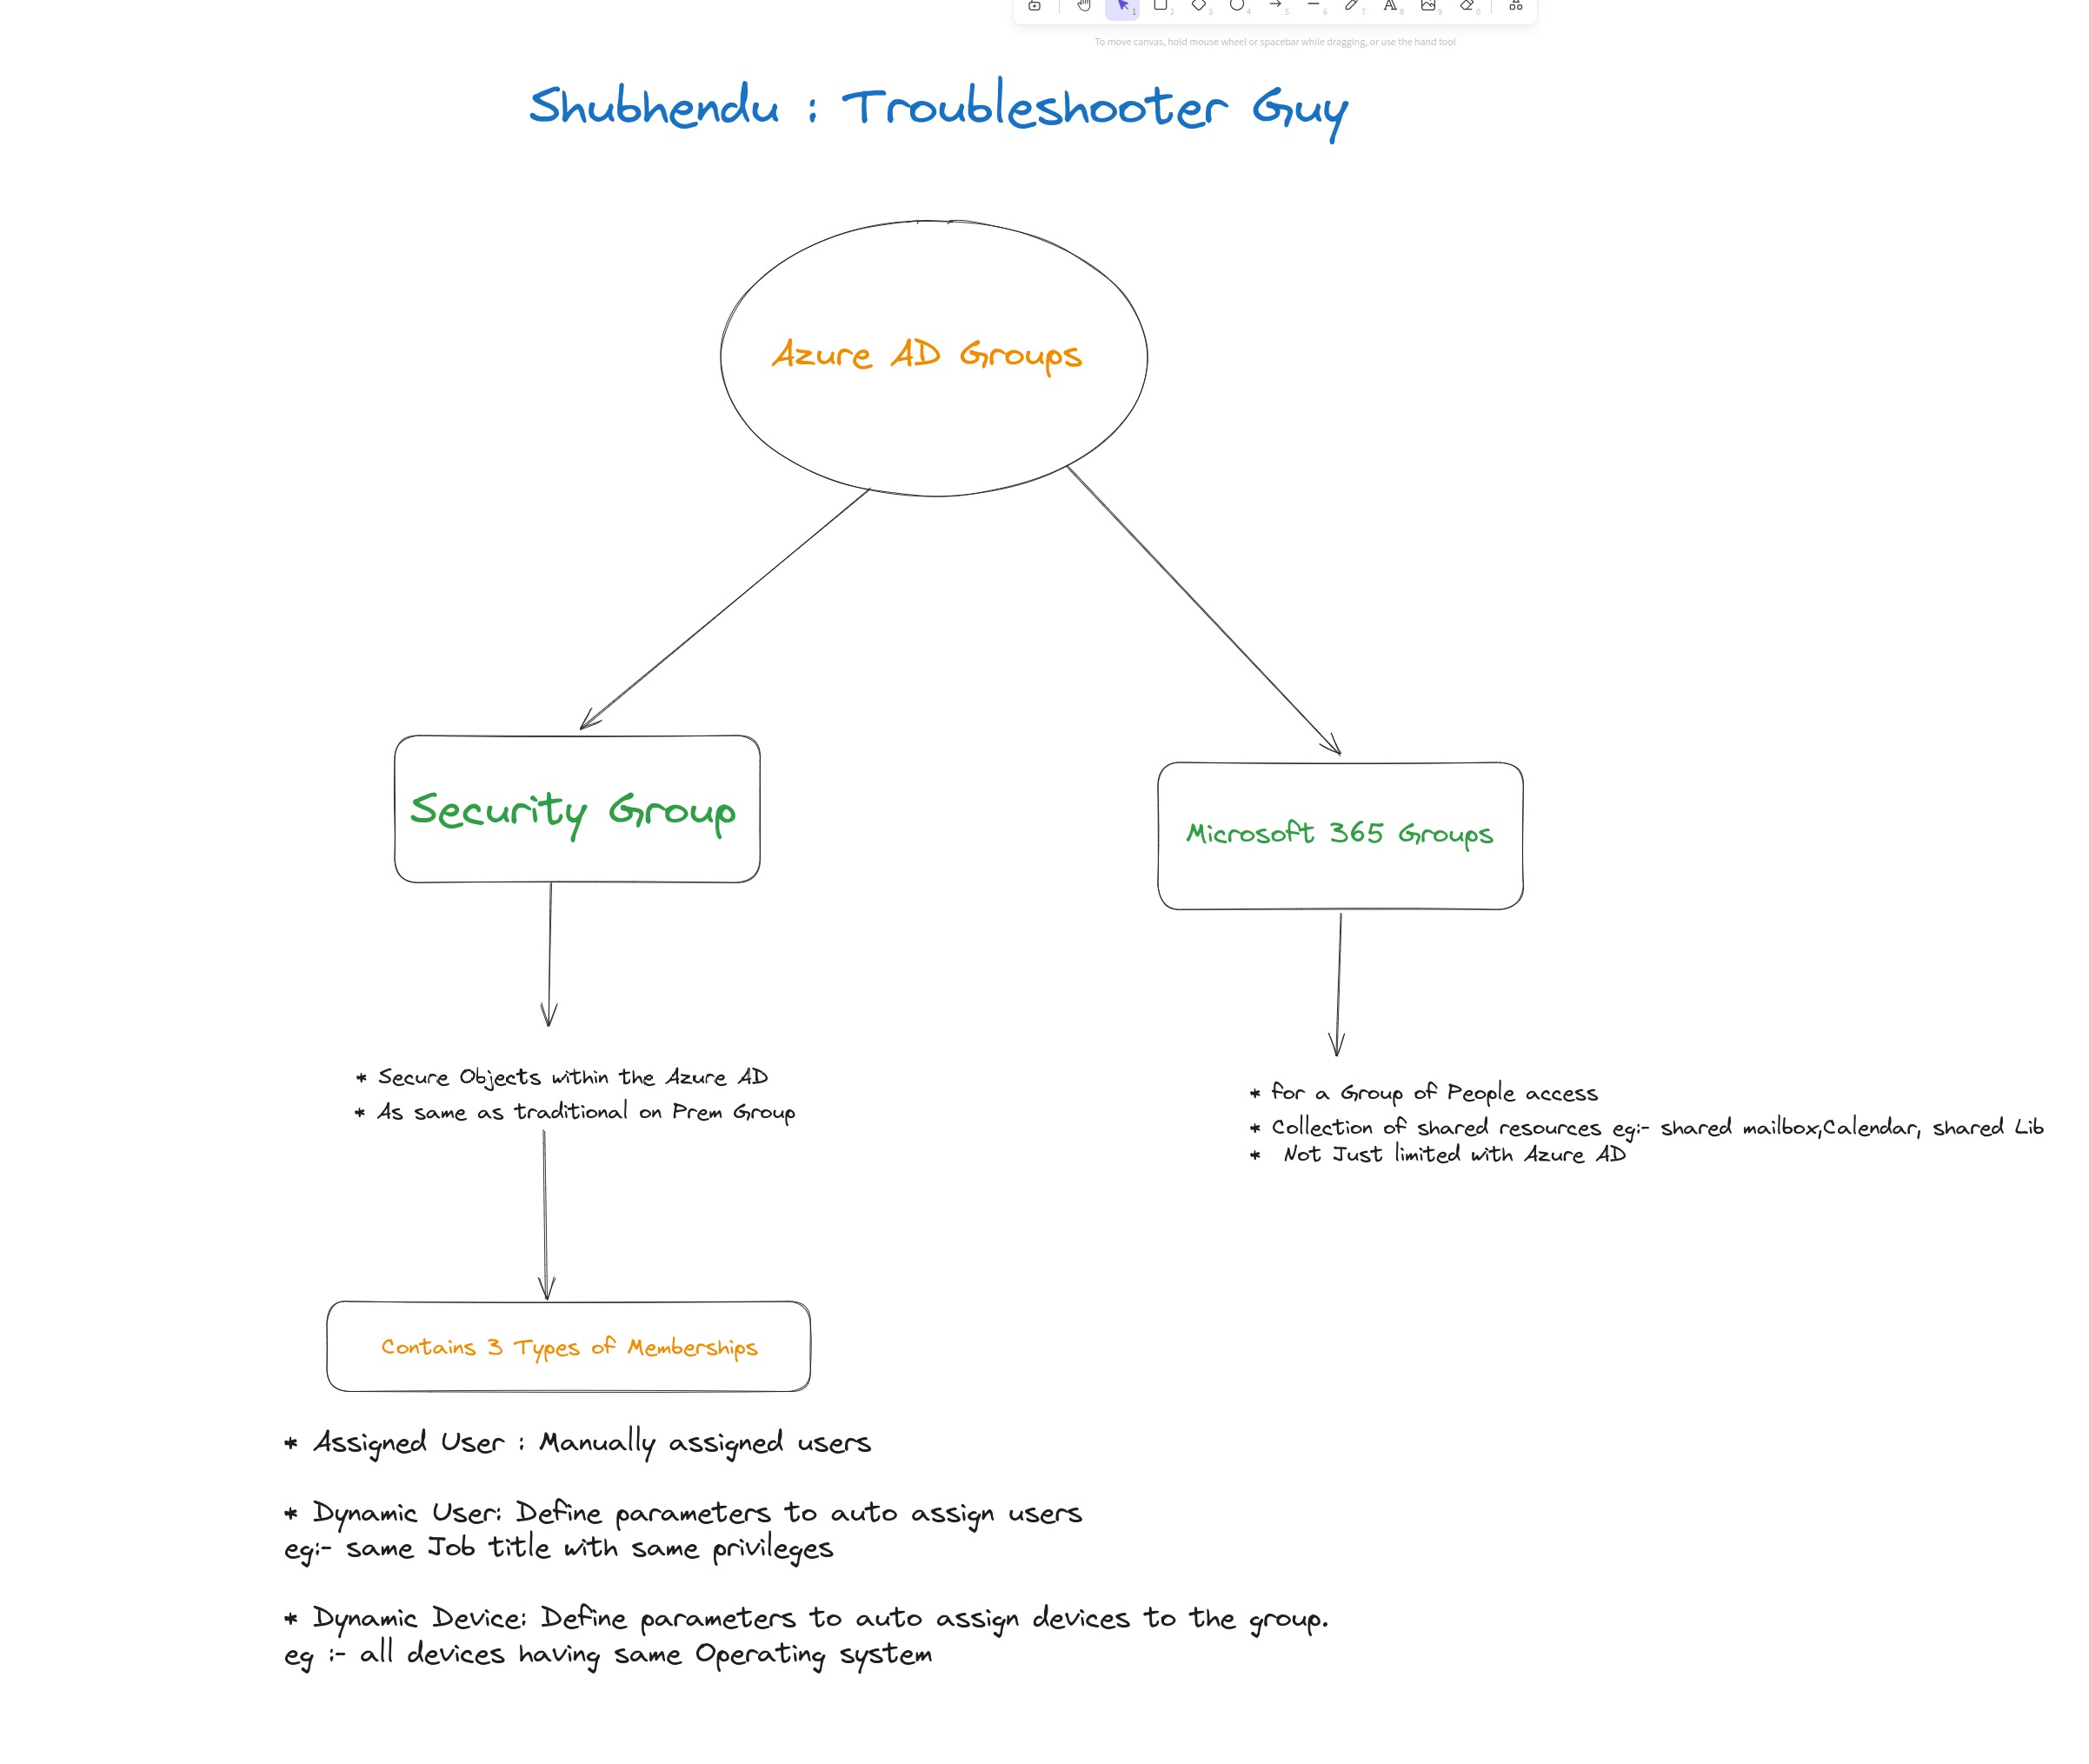
* Security Group :- As same as on prem Group
                   used to secure Objects within the Azure AD

* Microsoft 365 Group :- Provides group of people access to a collection of shared resources eg:- shared mailbox, calendar,.
Not just limited to Azure AD
Security Groups provides 3 types of memberships:-
- Assigned :- Manually assign user to a group
- Dynamic user:- Define parameter, to auto assign users to a group like people with same job Title can be groupped together
- Dynamic Devices:- Define parameters to auto group devices, eg:- All devices with same OS can be assigned to the same group
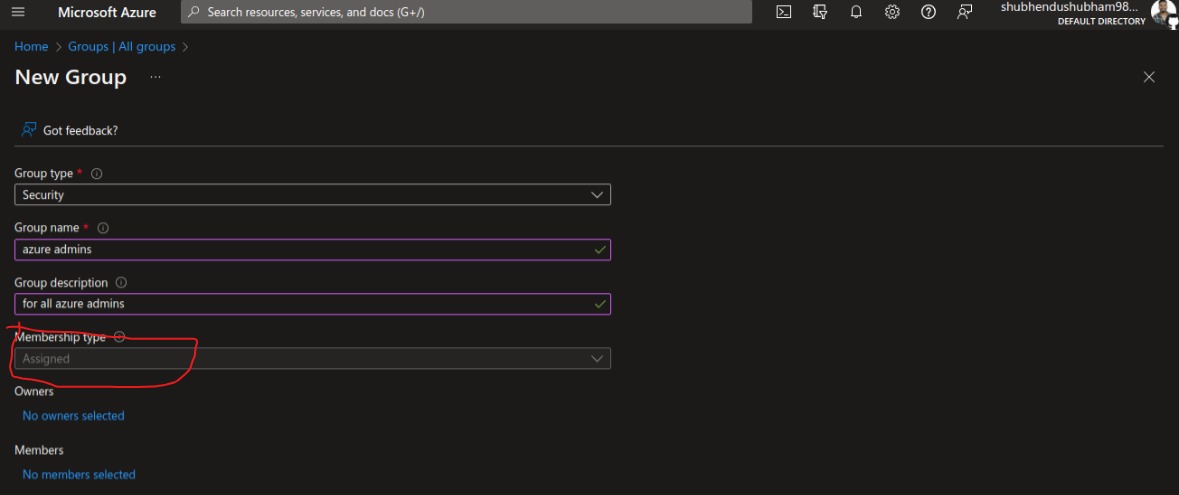
Create Assigned Group via Azure Portal
- Follow the previous steps to get into azure active Directory from azure portal and select Group from the left hamburger menu.
if you have premium P1 licence feel free to create Dynamic user group.
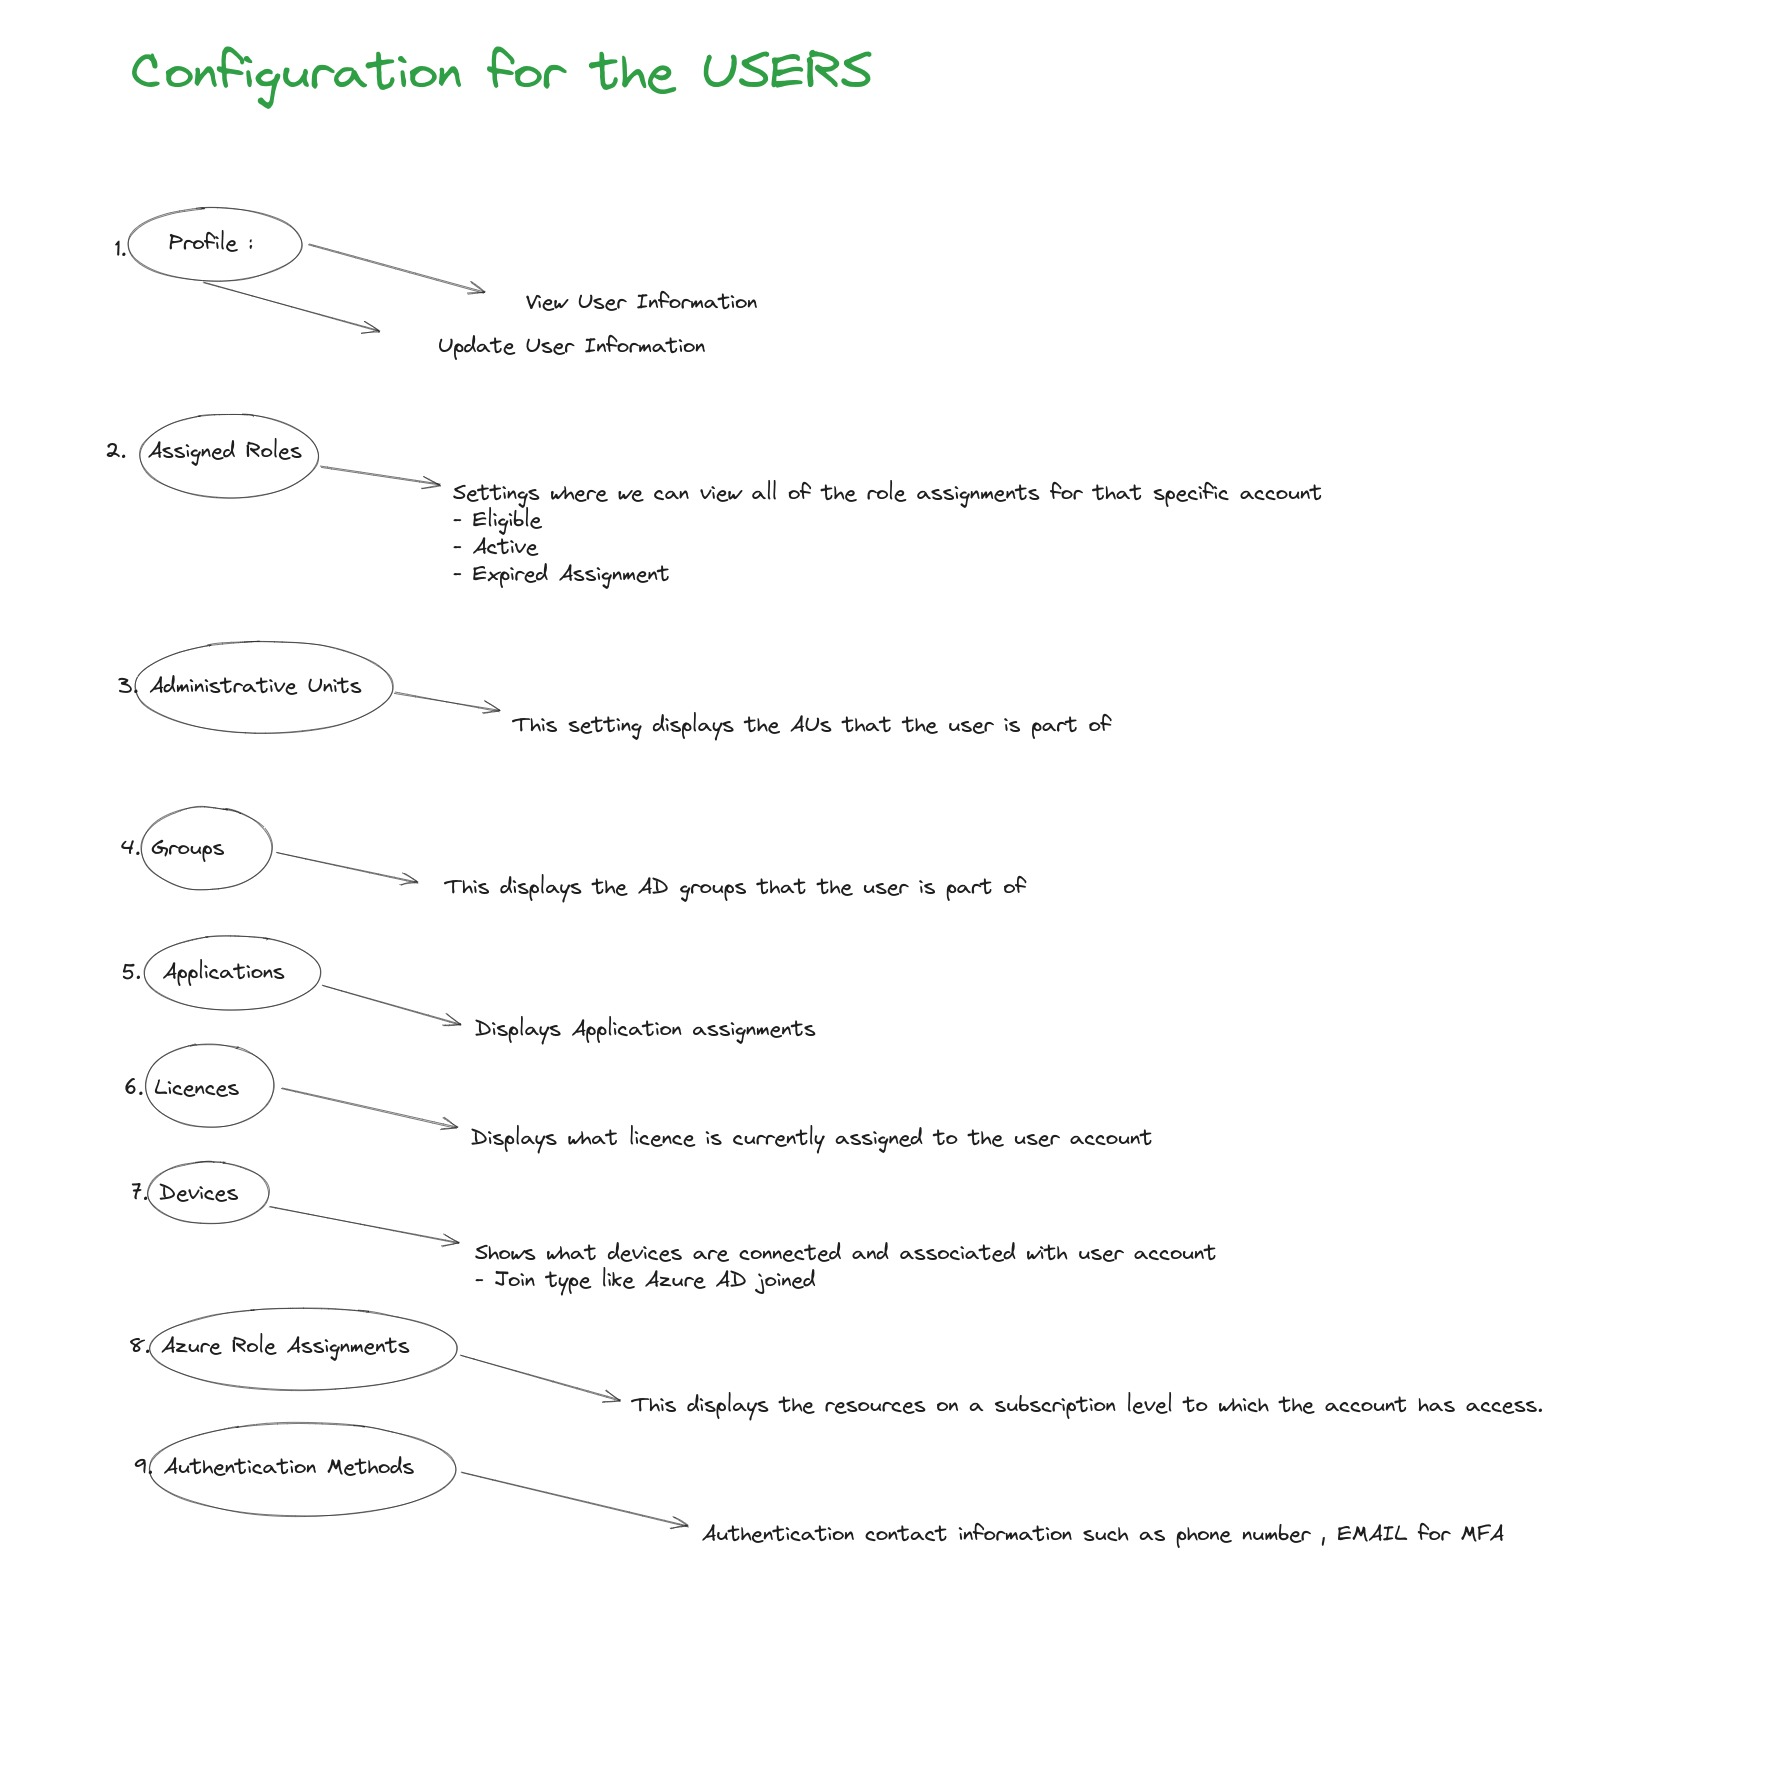
Managing User and Group Properties
So, we have successfully created users,Groups in previous steps now what and how can configure for an azure AD user account.
For Users List:-
- Profile:
- Assigned Roles
- Administrative Units
- Groups
- Applications
- Licences
- Devices
- Azure Role Assignments
- Authentication Methods
For Groups
List:-
- Overview
- Properties
- Members
- Owners
- Administrative units
- Group Memberships
- Applications
- Licenses
- Azure Role Assignments
- Dynamic Membership Rules
Device Management
To meet with the security and compliance standard, we can configure Device based conditional access form Azure AD.
Steps:
1) Signin to Azure Portal 2) Go to Azure Active Directory and select Devices option
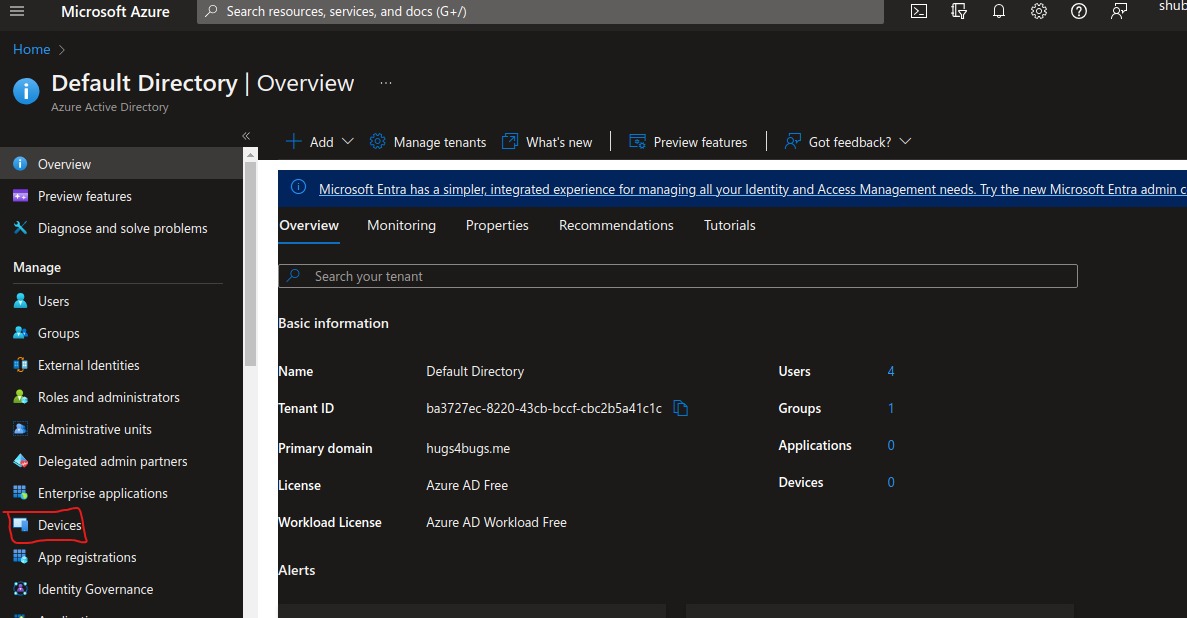
3) Select Device settings from the left-hand menu and let’s configure following settings:-
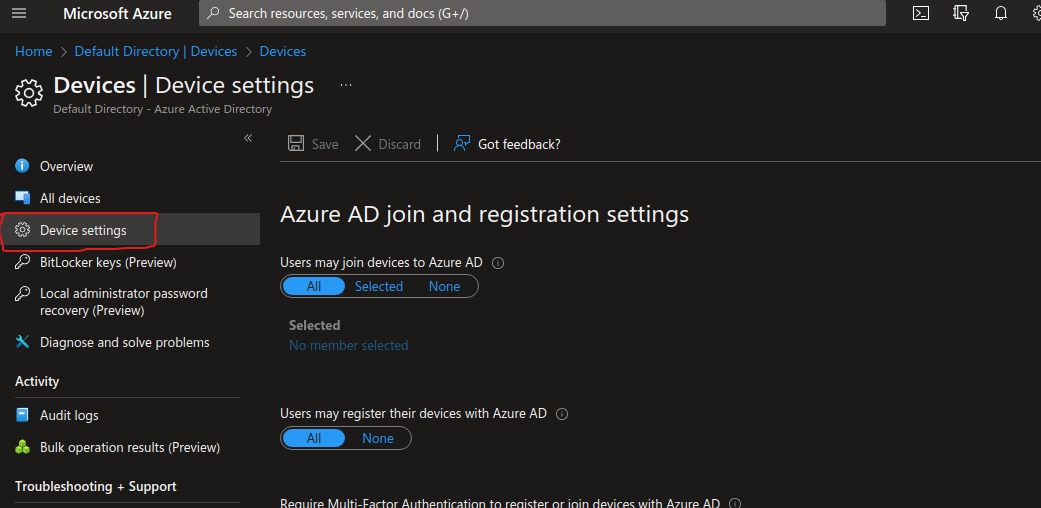
For the best security use case make sure enable MFA.
After all settings are done click on the save.
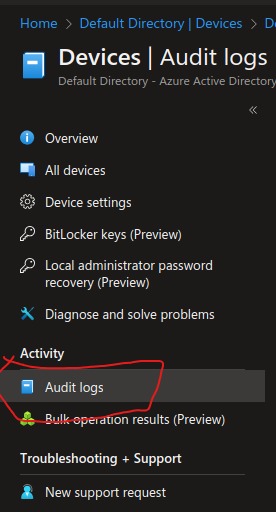
To check all user logs, click on the audit logs
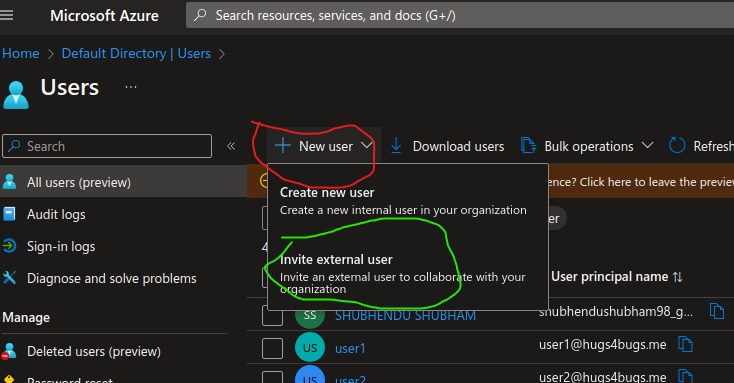
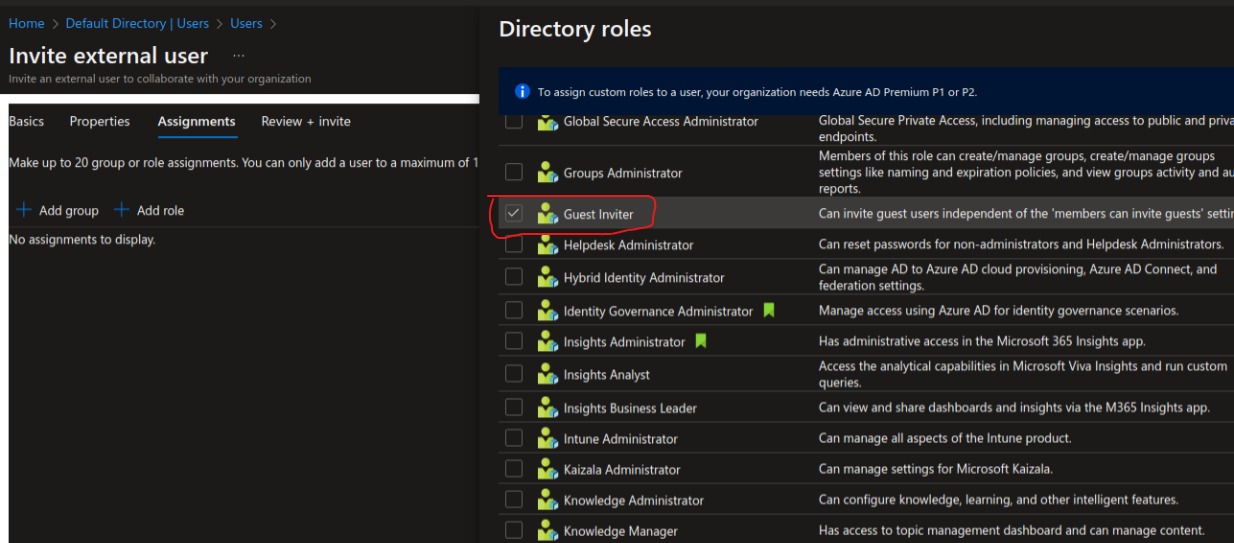
Managing Guest Users
Here comes the Azure AD B2B in the role,it is a feature in azure that allows org to connect and work safely with external users.
- External users don’t require a microsoft work and personal account that has been added to an existing Azure AD tenant.
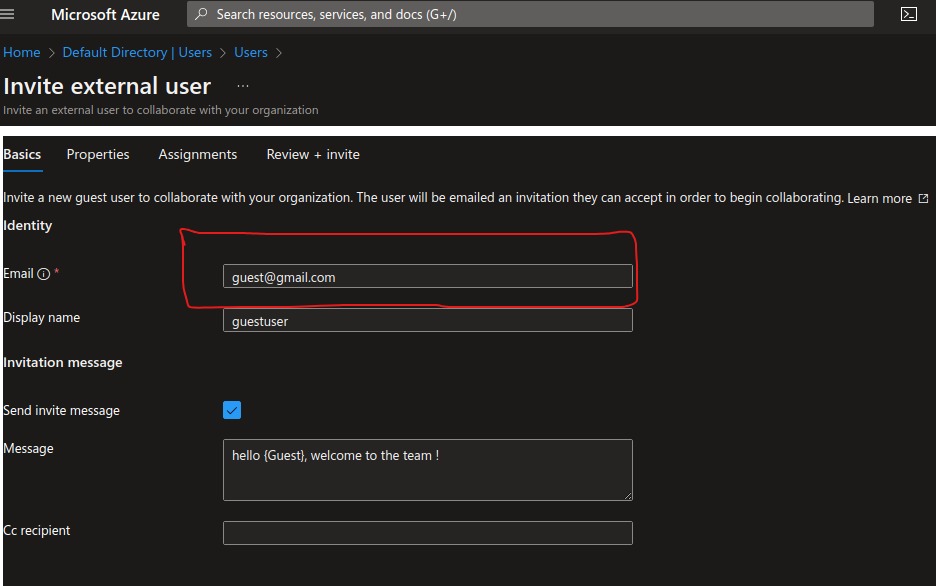
Feel free to select users role from assignment tab and be causious too., since it’s external guest user permission. You don’t wanna share critical resources with others.
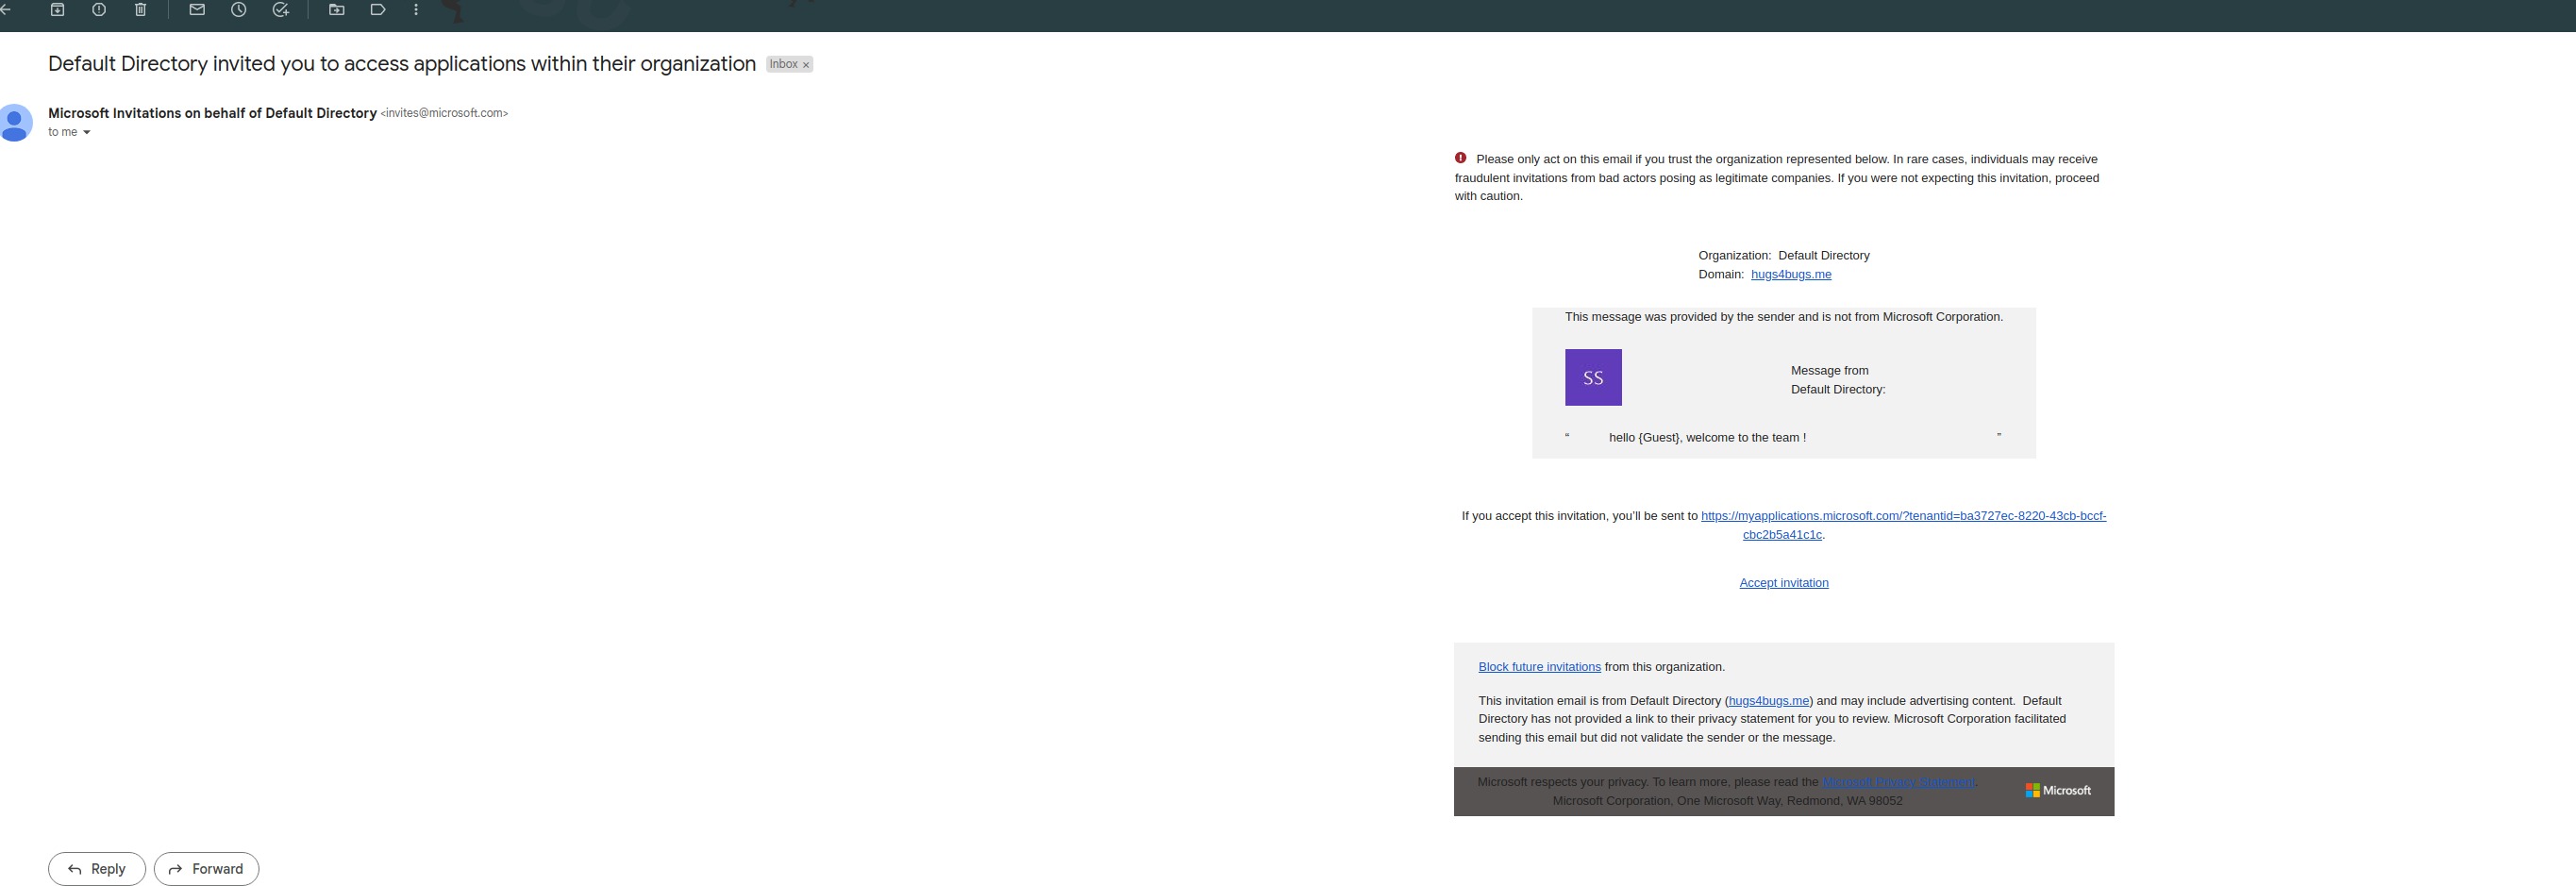
If you put original guest user email . you will get a mail like this
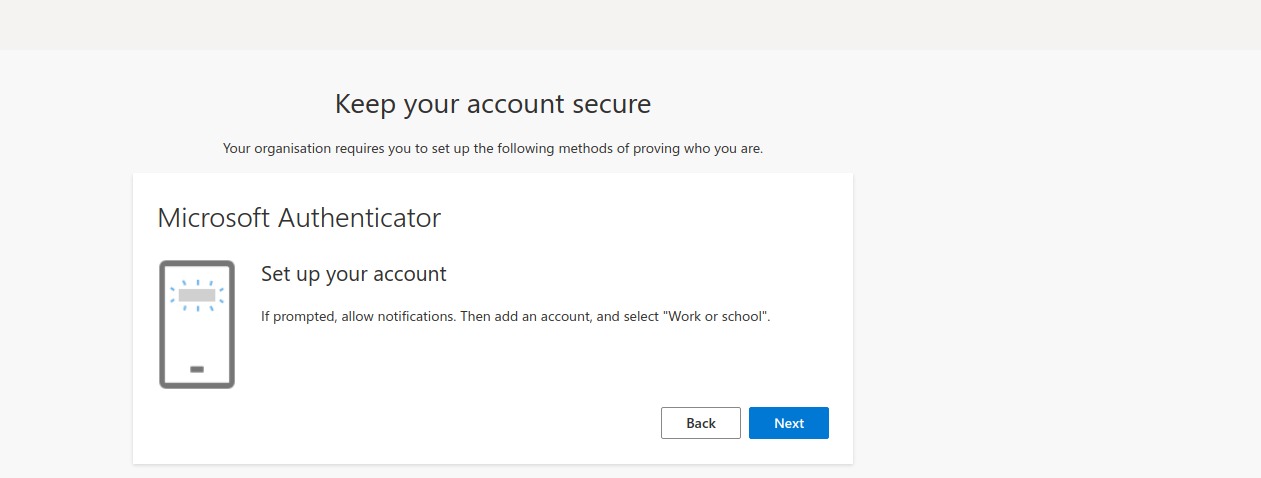
After Accepting invitation, it’ll ask for MFA(Multifactor Authenticato App) Registration .
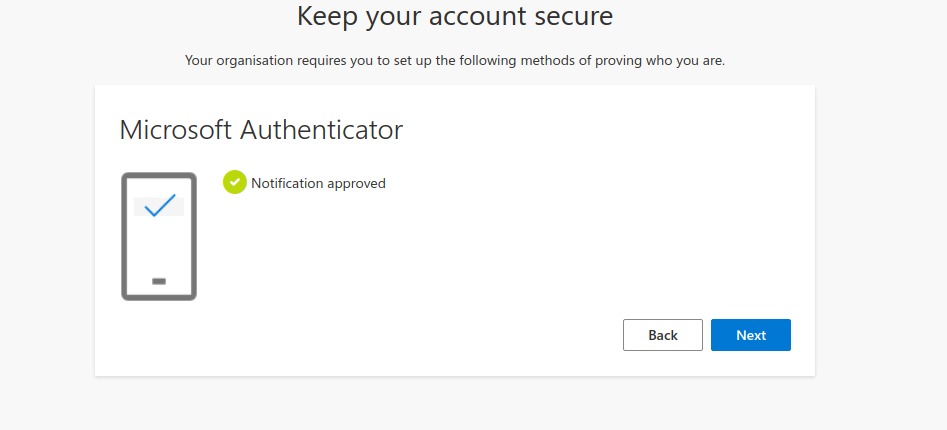
After 1st successful signin
SSPR
SSPR stands for the self-service password Reset. It allows users to reset password by ownself, which reduces the dependencies on admins.
in free Azure AD only cloud users only password change is supported not password reset
Steps:
1) Visit Azure Active Directory 2) Select password reset from the Azure AD overview blade from left hamburger menu.
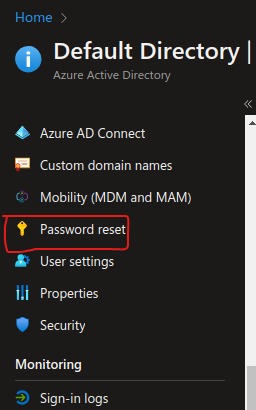
3) In the Password reset overview blade, you can enable SSPR for all your users, by selecting All, or for selected users and groups, by selecting Selected.
Make a slection of methods available to users for password reset.
Click save.
Thanks for Reading, Keep learning keep Troubleshooting together!
Work with me
Got a security challenge, architecture review, or just want to talk through something? Book a free 30-min call.


Comments